
An injection mold's cost is set by the part, not by a price list. Part size decides the mold base, annual volume decides how many cavities it needs, expected life decides the steel, and features like undercuts, hot runners, textures and tight tolerances add work on top. Where the tool is built and how many trial rounds it takes to approve move the number again.
So the honest answer to how much an injection mold costs is: send the part and the volume, and you will get a number worth holding someone to. The better question is what the tool costs across the whole program, because a cheap tool can be the most expensive decision in it.
Size, mold base and cavity count
The mold base is the steel frame that holds everything else, and it scales with the part. A bigger part needs bigger plates, more steel to machine and a press with enough clamp force and platen space to hold it. The clamp force a tool needs grows with the projected area of all the cavities plus the runner, so adding cavities is not just more cavity work. It can push you into a bigger base and a bigger press.
Cavitation is where annual volume comes in. A single-cavity tool is the cheapest to build and the slowest to produce. More cavities cost more upfront but make more parts per cycle, which lowers the piece price and the press time you pay for. The right count is the lowest one that meets your annual demand with room for downtime and growth.
Get this wrong in either direction and you pay for it. If volume is modest or uncertain, a multi-cavity tool is money spent too early. If demand is large and steady, a single cavity can quietly cost you more in press hours than the extra cavities would have cost in steel.
Steel choice and expected tool life
Steel is the clearest trade-off between upfront cost and life. Aluminum tools machine quickly and cost less, and they suit prototypes, bridge tooling and low volumes, but they wear and dent sooner and are harder to repair. Pre-hardened steels are the common middle ground for moderate volumes: they machine without a separate heat-treat step and take repairs well. Hardened tool steels cost more because they are machined, heat-treated and finished, but they hold edges and surfaces over long runs and stand up better to abrasive, glass-filled resins. Stainless grades are often chosen where corrosion resistance or a high polish matters, as with many optical and medical parts.
The mold classification originally published by the Society of the Plastics Industry, now the Plastics Industry Association, grades tools from Class 101 to Class 105 by expected cycle life and construction. Asking each toolmaker which class they are quoting is a quick way to make sure two quotes describe the same tool.
The takeaway: match the steel to the volume you actually expect over the program, plus a margin. Over-building a tool for a product that may change next year is as wasteful as under-building one that has to run for years.
Complexity: what makes a tool harder to build
Two parts of the same size can need very different tools. The difference is usually in the features that stop the part from simply pulling straight out of the mold, and in how precisely it has to come out.
A good DFM review often takes cost out here. A small change to a clip or a hole can eliminate a slide, and extra draft on a textured face can save a sticking problem later. Ask what each feature costs in tooling before you lock the design.
- Undercuts: any feature that locks the part in the direction of opening needs a mechanism to release it
- Side actions: slides that pull sideways before ejection, driven by angle pins or cylinders
- Lifters: angled cores that release internal undercuts as the part is ejected
- Unscrewing: rotating cores for molded threads, driven by motors, racks or hydraulics
- Hot runner vs cold runner: a hot runner costs more to build and maintain but cuts runner scrap and can shorten cycles; a cold runner is simpler and cheaper, and the runner is reground or scrapped
- Surface finish and texture: high polish and specified textures add hand work and can dictate the steel
- Tolerances: tight tolerances mean more precise machining, more trial iterations and steel-safe adjustments after first shots
- Family molds: several different parts in one tool save on tooling but are harder to balance and awkward when the parts sell at different volumes
Cheaper tool, higher piece price
The tool is paid for once. The piece price is paid on every part for the life of the program. A cheaper tool that runs a slower cycle, needs manual trimming, makes more scrap or spends more time down for repair adds a little to every part, and over a multi-year program that little can outgrow the savings on the tool.
The comparison to ask for is the total: tooling, plus piece price times expected program volume, plus likely maintenance. Two quotes with different cavitation and different steel are only comparable on that basis.
Where the mold is built changes the number too. Toolmakers in different countries price labor and steel differently, but the real cost of a tool also includes trial rounds, engineering changes and the travel or shipping needed to approve it. A tool built far from where it will run can be cheaper on paper and expensive to modify. If it is built in one place and run in another, plan for it to be checked against the production press before it ships.
From quote to T1: where the cost moves
A mold quote is a starting point. The final cost depends on how the project goes from there, and most surprises come from decisions made after steel is cut. Changes to the part after the tool design is approved are the most common reason a tool ends up costing more than quoted. Settle the design, the resin and the critical dimensions before you approve the tool drawing, and treat every change after that as a priced change order.
- Design review and DFM: gate location, parting line, draft, wall thickness, ejection and cooling agreed before the tool is designed
- Mold design approval: you sign off on the tool layout before machining starts
- Steel cut and tool build
- T1: first shots, with parts measured against the drawing
- Adjustments: steel-safe changes, gate or venting tweaks, and further trials until parts meet the print
- Sample approval and first-article inspection, then release to production
How to get a real number
A quote is only as good as the information behind it. Send the following and a molder can quote the tool and the piece price together, which is the only way to compare them honestly.
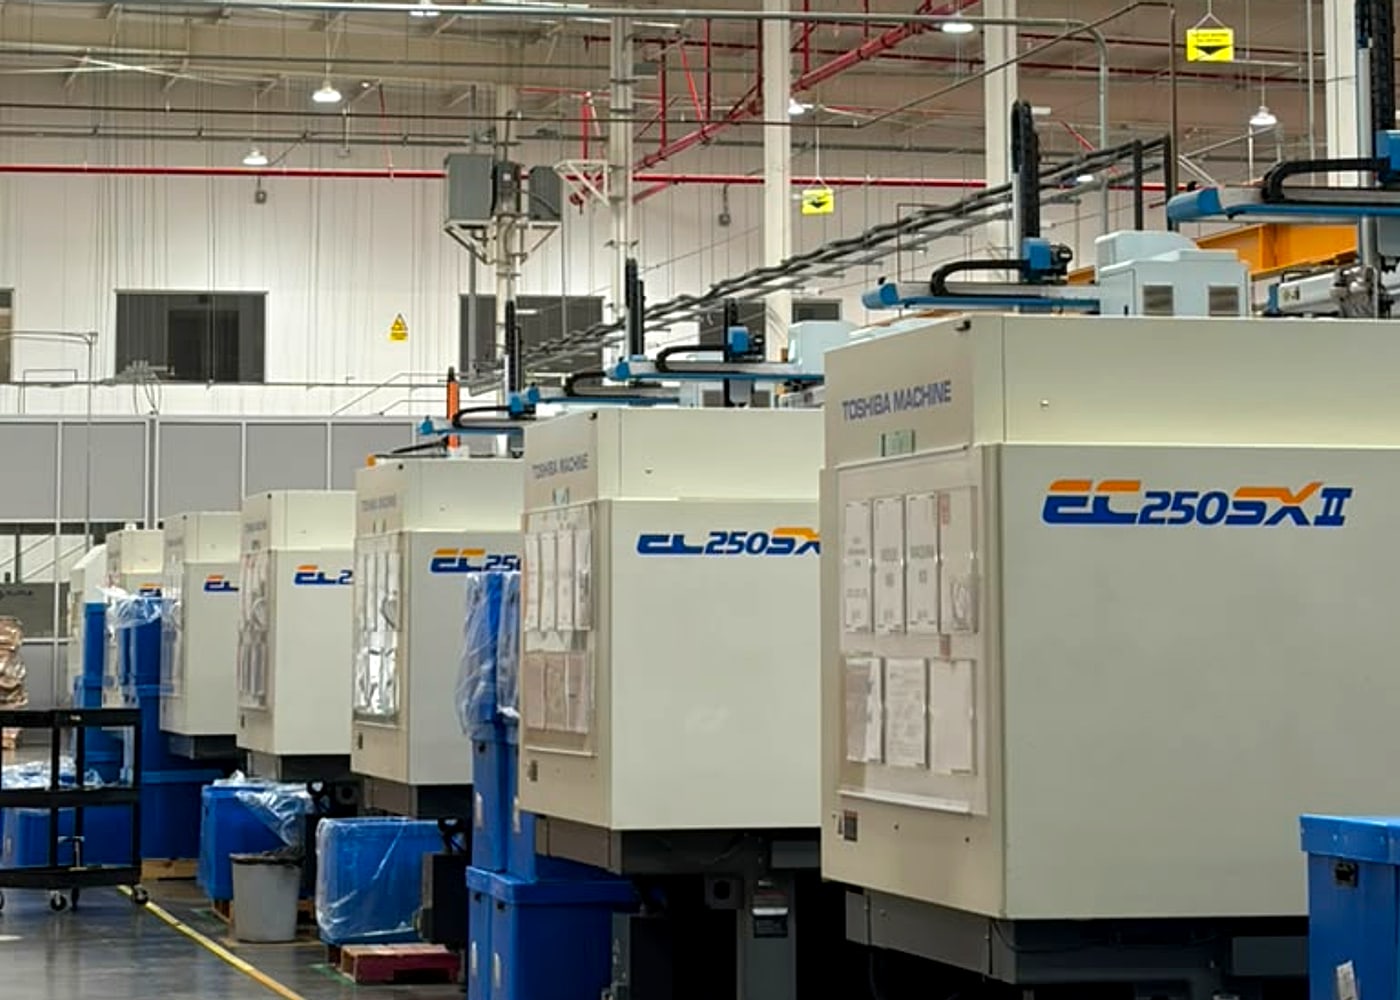
At USMEX, every program starts with an NDA and a manufacturability review covering resin, gating and cooling, cycle and the quality plan, before anyone commits to steel. All ten of our presses are 250 tonne, so part of that review is whether the cavitation you want fits that clamp class, and our on-site machine shop handles mold maintenance and repair once the tool is running. Send the 3D file and your annual volume under NDA and we will start there.
- 3D file (STEP or native) and a 2D drawing with critical dimensions called out
- Annual volume, and how you expect it to change over the program
- Resin, with grade and any fillers, or the performance the part needs if the resin is still open
- Cosmetic requirements: visible surfaces, finish or texture, color, and where gate marks are acceptable
- Tolerances, and which dimensions are truly critical
- Target launch date and how long the program is expected to run
- Whether a tool already exists, and where it runs today
Quick answers
How much does an injection mold cost?
It depends on the part: size, cavity count, steel, complexity, runner type, finish and tolerances, plus where the tool is built. With a 3D file, annual volume, resin and cosmetic requirements, a molder can give you a number worth holding them to.
Is an aluminum mold good enough?
For prototypes, bridge tooling and low volumes, often yes. For long runs, abrasive resins or demanding cosmetic surfaces, a steel tool usually costs less over the life of the program.
How many cavities should my mold have?
The fewest that meet your annual demand with room for downtime and growth. More cavities raise tooling cost and lower the piece price; annual volume decides where the balance sits.
Is a hot runner worth the extra tooling cost?
It depends on volume and resin. A hot runner cuts runner scrap and can shorten cycles, which pays back at higher volumes or with expensive resins. At low volumes a cold runner is often the better spend.
Why did my tooling cost go up after the quote?
Usually because the part changed after the tool design was approved, or because tolerances and cosmetics took more trial rounds than planned. Locking the design before approving the tool drawing prevents most of it.